Installing NG Firewall in ESXi
Overview
This article details the installation process for NG Firewall in a VMware ESXi environment.
Requirements
- VMware ESX server version 6.5.0 Update 3 or newer
- One virtual NIC and vSwitch per NG Firewall Interface
Download the NG Firewall installer
- Log into your Edge Threat Management account.
- Click GET STARTED > Software Downloads at the top right-hand corner.
- Download either version of the installer. Note that both options install the same software, however the "Serial" version uses only a command-line interface.
Deploy image to ESX server
- Open your VMware vSphere Client and login to your server.
- Create a new virtual machine and point the CD-ROM to the NG Firewall ISO image.
- Configure the CPU and RAM per the Hardware Requirements guidelines.
- In the “Ready to Complete” screen, verify that everything looks OK and click Finish
Configure Physical NIC to vSwitch mappings
- Setup/confirm your vSwitch Settings. Click on the ESX host, then select Configuration tab and Hardware > Networking

- It is best practice to place your “Management Network“ on its own vSwitch. (This is not a Must but if you can, make sure that NG Firewall does not exist on the same vSwitch as any Management Interface)
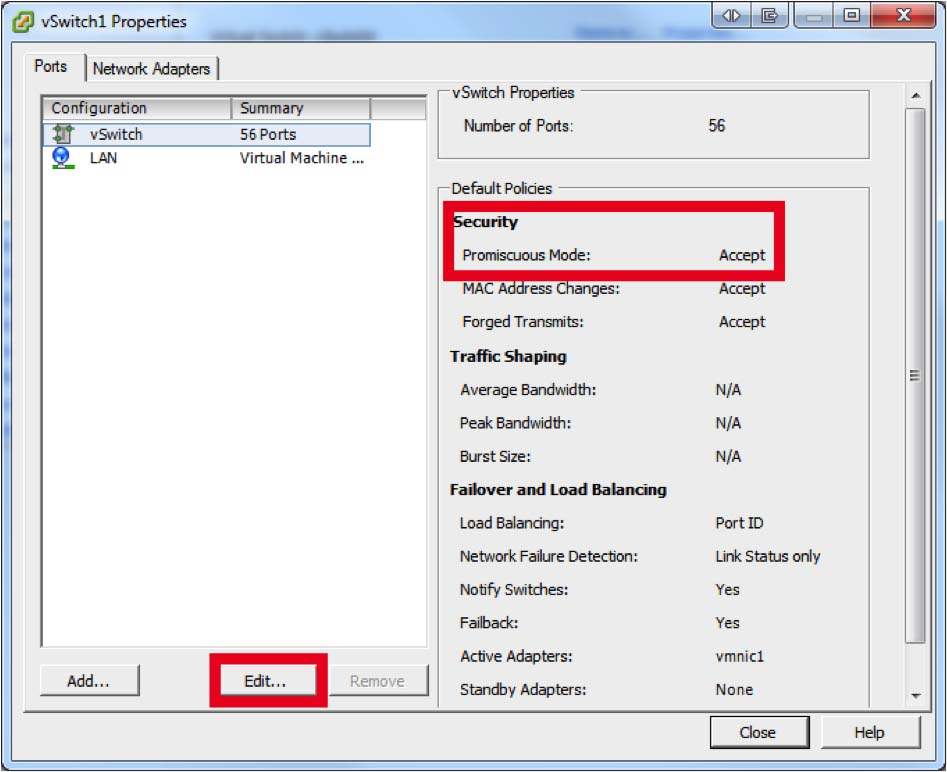
- On the vSwitches that NG Firewall will connect to, activate “promiscuous mode” by clicking on Properties…
- Ensure that Promiscuous has status “Accept” otherwise hit "Edit" and go to the Security tab and change “Reject” to “Accept”. You will need to do this on all vSwitches that NG Firewall Virtual Machine connects to!
Configure the Virtual Machine for your Network
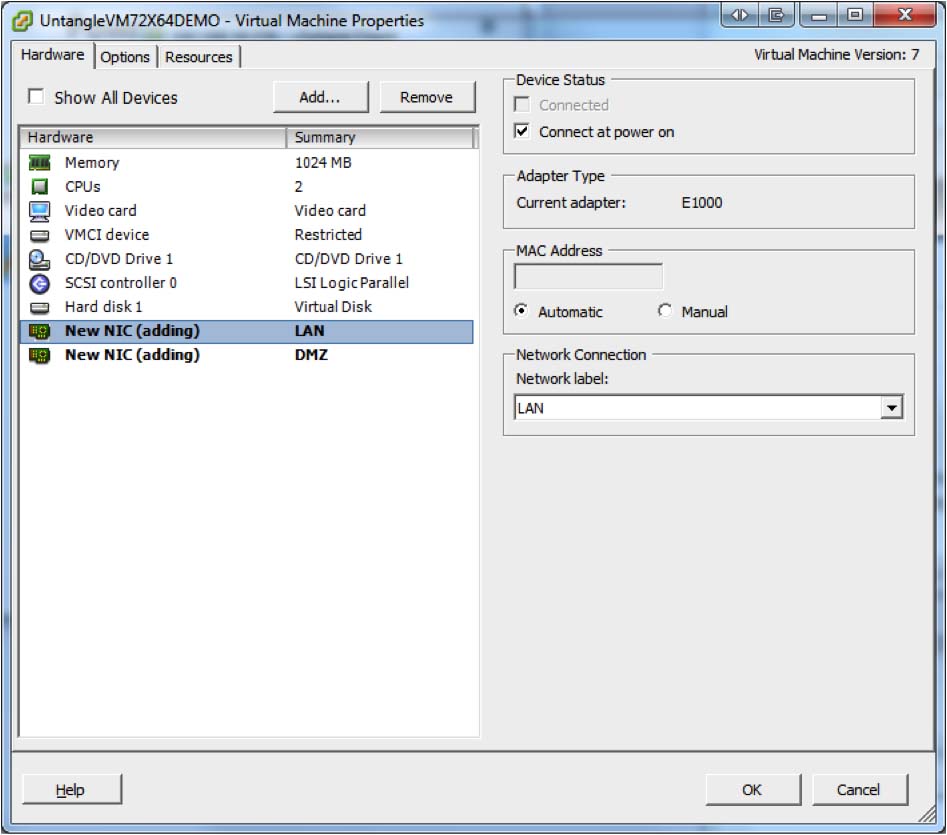
- Right click on the new Virtual Machine and select Edit Settings.
- You will need to add new virtual NICs and connect them to the appropriate vSwitches.
Warning! Two bridged interfaces to the same vSwitch will crash your ESX server. Each NG Firewall NIC should be connected to its own vSwitch. Each vSwitch should be connected to its own Physical NIC, or at least be separated by VLAN tagging at the physical NIC level. - In this example, you can see that the new NICs are connected to different vSwitches, labeled "LAN" and "DMZ".
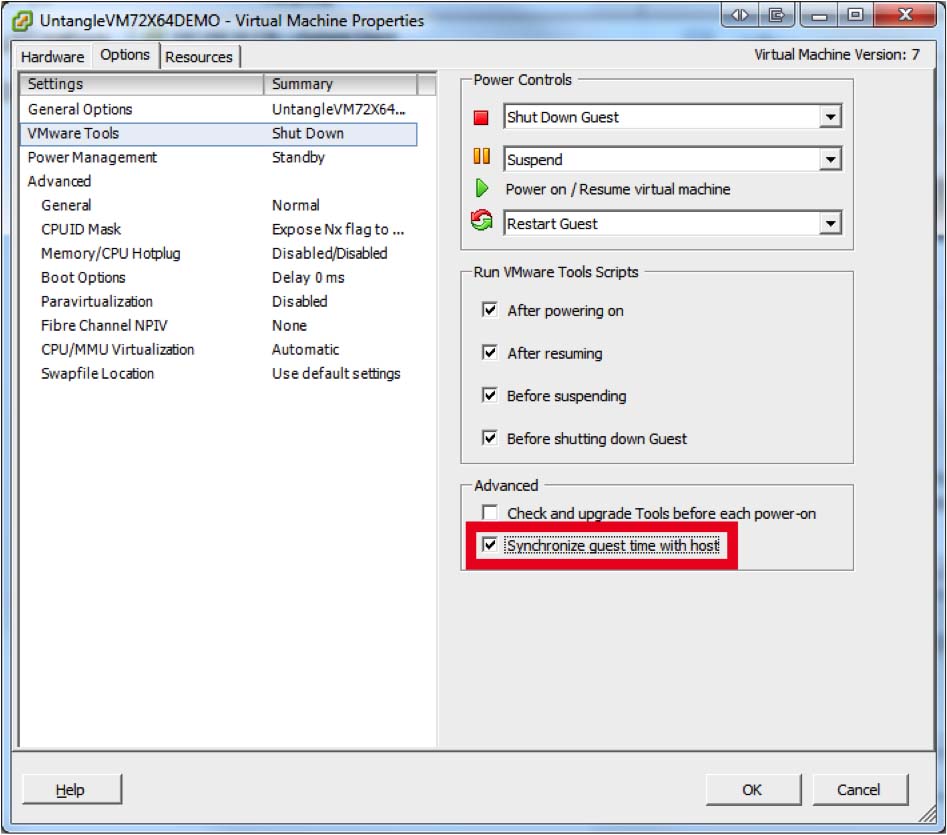
- Under Options > VMware Tools make sure to check the option “Synchronize guest time with host” and click OK
Have more questions? Submit a request
Comments
0 comments
Please sign in to leave a comment.